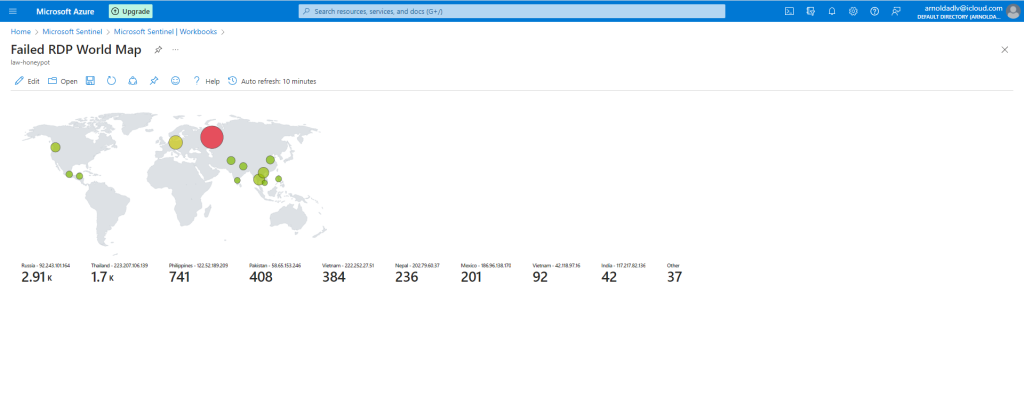
During my time studying for the CompTIA Network+ exam, I learned what a SIEM is. SIEM stands for Security Information and Event Management, and is a tool that helps organizations monitor and analyze their security-related data from different sources to detect and respond to cybersecurity threats. In todays world theres always a new security breach, whether it may be Yahoo, Equifax, etc all costs these companies millions of dollars.
Why is a SIEM important? Here’s a few reasons why:
- Real Time visibility: A SIEM can give you real-time visibility into the security of your organiztion. By collecting data and matching up data from multiple sources, a SIEM can detect security incidents that would probably have gone unnoticed pretty quickly
- Threat detection: A SIEM helps detect a wide range of security threats, which may include malware, phishing attacks, unauthorized access attempts and other suspicious activities
- Incident response: A SIEM can help organizations respond quickly to security incidents. By alerting security teams in real-time, a SIEM can help reduce the time it takes to detect and respond to security incidents, minimizing the impact of a security breach.
- Compliance: A SIEM can help organizations meet compliance requirements. There are many regulations that require organizations to monitor and analyze security data and a SIEM Can help you do that.
- Centralized management: a SIEM can help organizations manage their security data from a centralized location. this can help improve efficiency and reduce the risk of errs and make it easier to manage security policies and procedures
So today, I decided to a set up a SIEM on Microsoft Azure with Sentinel.
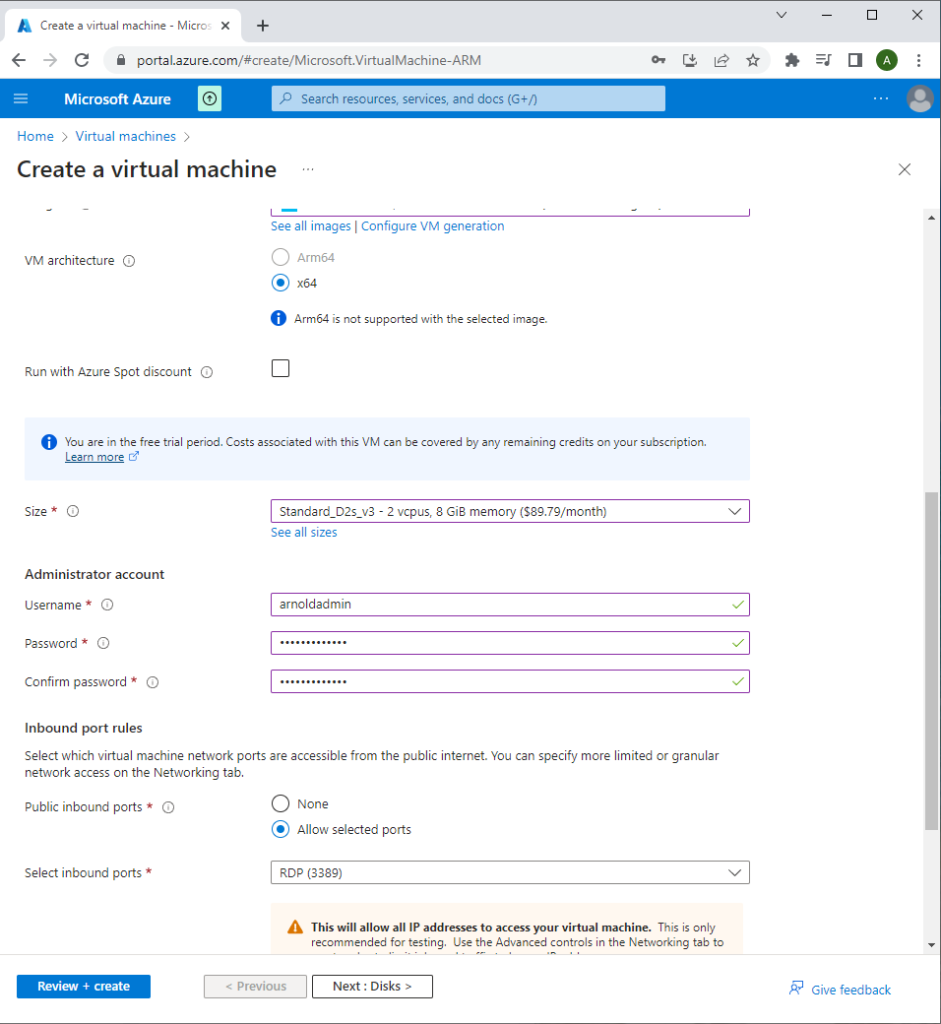


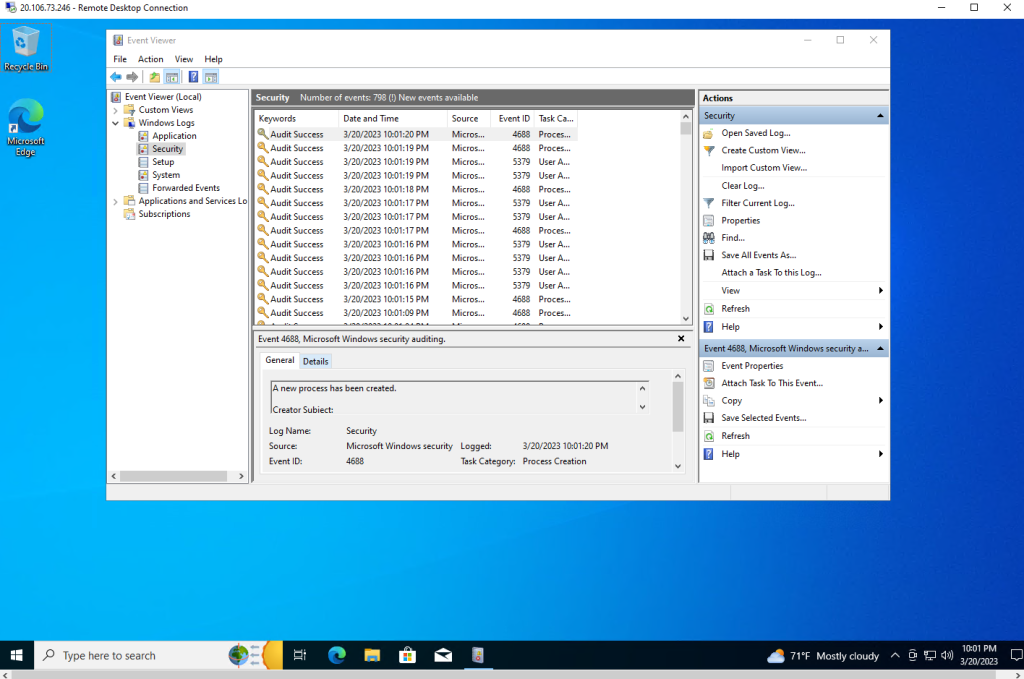

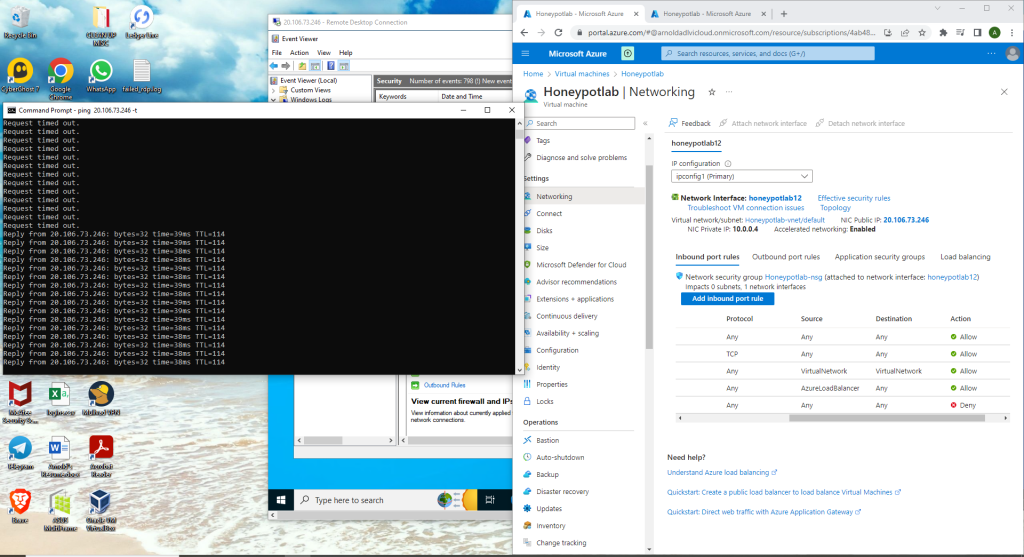
I ran into the issue that I kept getting request timed out even after disabling the firewall on the VM. Obviously, if this were a real thing, this would be good. But since we want this VM as vulnerable as possible for the project, I had to figure out why it still wasn’t able to connect. So I went into Azure and double checked my work on the VM inbound port rules. I found that I did not click save on the inbound port rules we made when we originally were setting up the VM to allow ANY inbound connections. I fixed this by adding the DANGER_ANY_IN inbound port rule again with a priority of 100 so it would get more priority over every other rule on it. And this time I saved it.
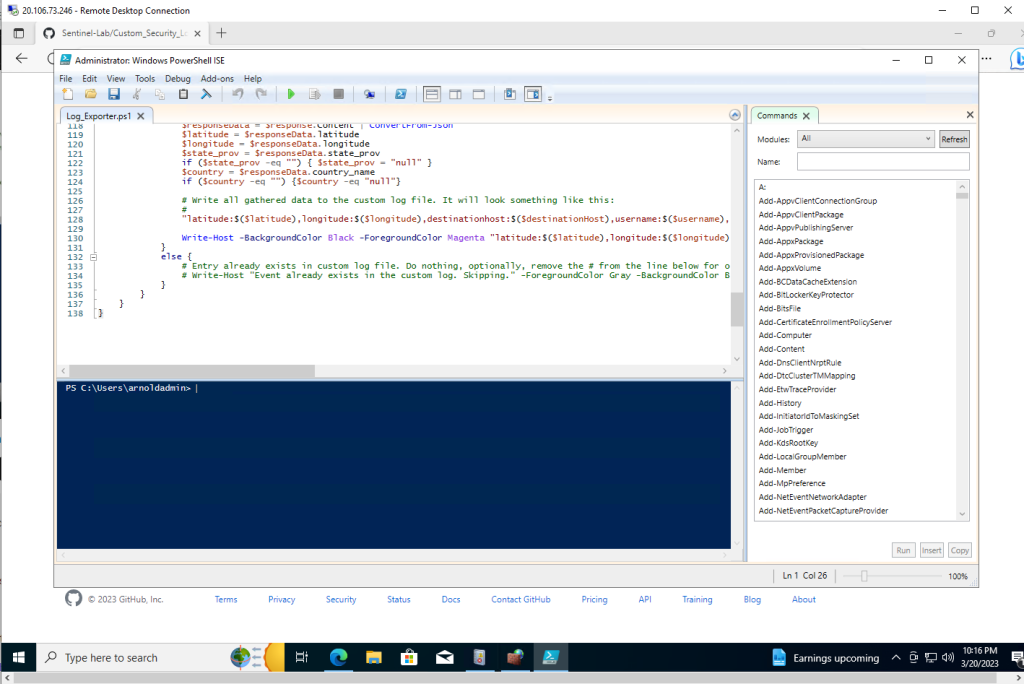
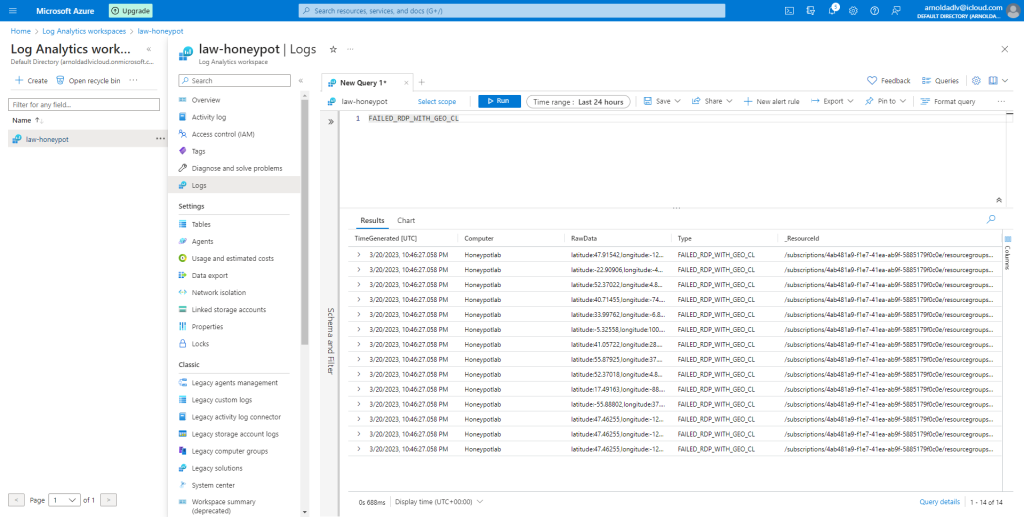

Here we are making each custom field we need to make the SIEM map. We ended up making a custom field for:
- country
- state
- sourcehost
- destinationhost
- longitude
- latitude
- timestamp
- label
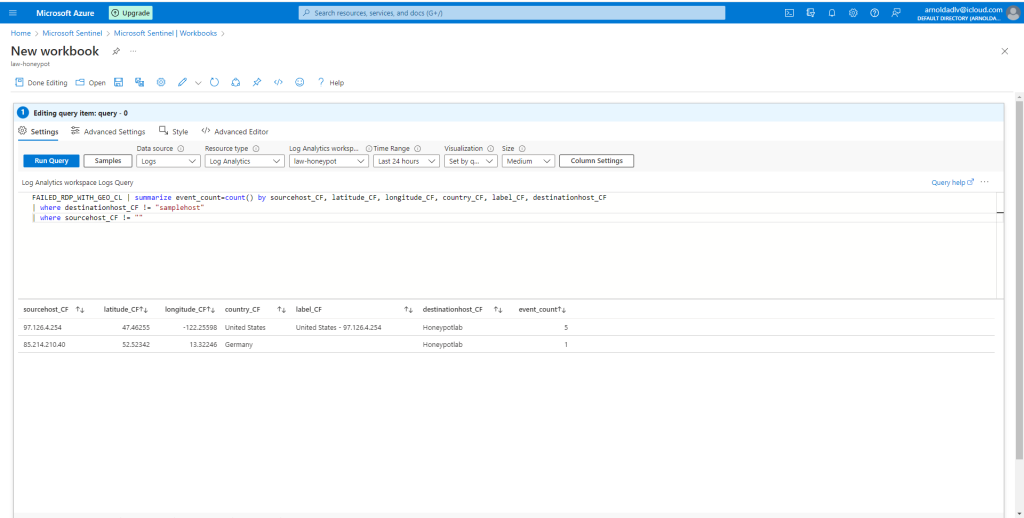
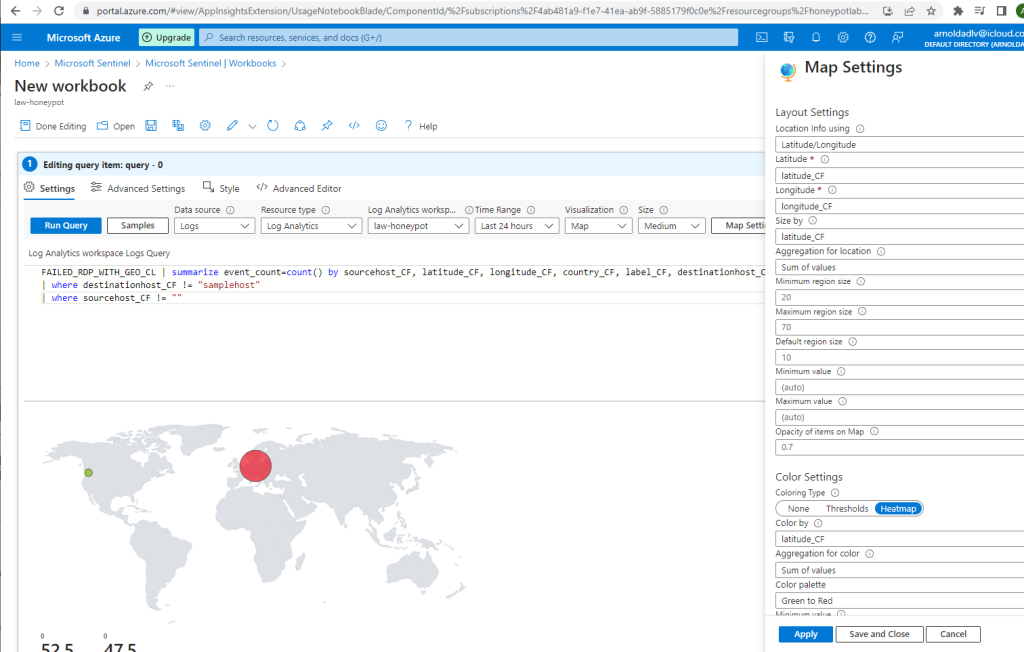

Doing this project made me realize just how important cybersecurity is in todays world. As you can see, we just right now set up a VM on Azure and it is now already receiving attempts to log in within a few minutes of creating it.
With the increasingly growing reliance on technology and the internet, cyber threats are becoming more complex and frequent, and they can have serious consequences for people, companies, and the general public as a whole. And a tool like a SIEM could help keep these threats at bay.
